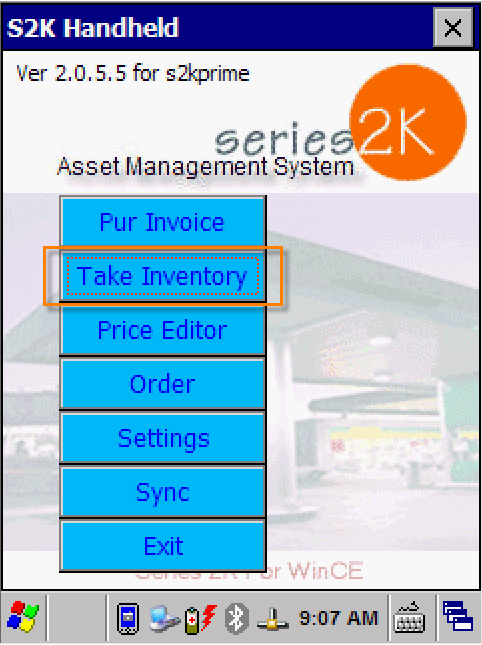
To begin taking inventory using the handheld, open the S2K app and select the Take Inventory button on the main menu.
The next screen will show the options for new or existing inventory counts.

1. Saved Inventory counts will be listed
2. New: Begin a new count
3. EDIT: Edit and existing Inventory count from the list
4. Delete: Delete a count from the list
Select New to begin a new inventory count.
Verify the date and time on this screen are correct. If so, tap Don’t change, date/time is correct. Otherwise, adjust the date/time and tap Change time and save.

On the next screen, double check that the date is correct. The other options can be useful but are not required.
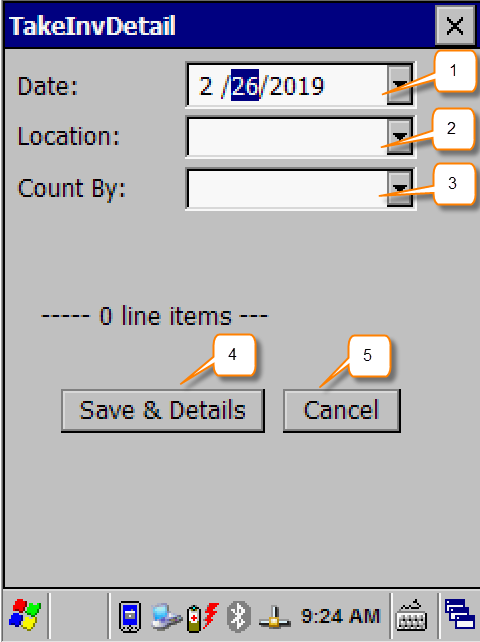
1. Date: Confirm the date.
2. Location: Location of where the items are in the store if they are in more than one place. For example, a display case or a specific cooler.
3. Count By: Select the employee who is doing the inventory count.
4. Save: Save header information and continue to scan items.
5. Cancel: Go back to previous screen.
Tap the Save & Details button to begin scanning items.
Scan the item and enter the TAKE QTY amount as shown below
Continue scanning the items and entering the qty.
When you finish scanning and counting the items, tap the X button in the top right corner to save and close.

This will bring you back to your list of counts.
You may resume one that is already saved by tapping edit, or you can delete it. You can also begin a new one from here.
Tap the X in the corner again to close and return to the main screen.
If you are finished, tap the Sync button and Download Data from Handheld